Film Journey Posts
A running list of all my film journey posts. Mostly for myself as a reference to this crazy journey. I’ll probably forget from time to time if I’ve already researched something or forgotten where a good resource was.
Hopefully, it may be of some use to you if you are thinking about getting back into film.
You can also go here to see all the posts filtered out on 365Pixels.
There is also a Resource Page with links to websites, YouTube videos, hardware, and books that have been very helpful to me.
Post #8 July 27, 2026
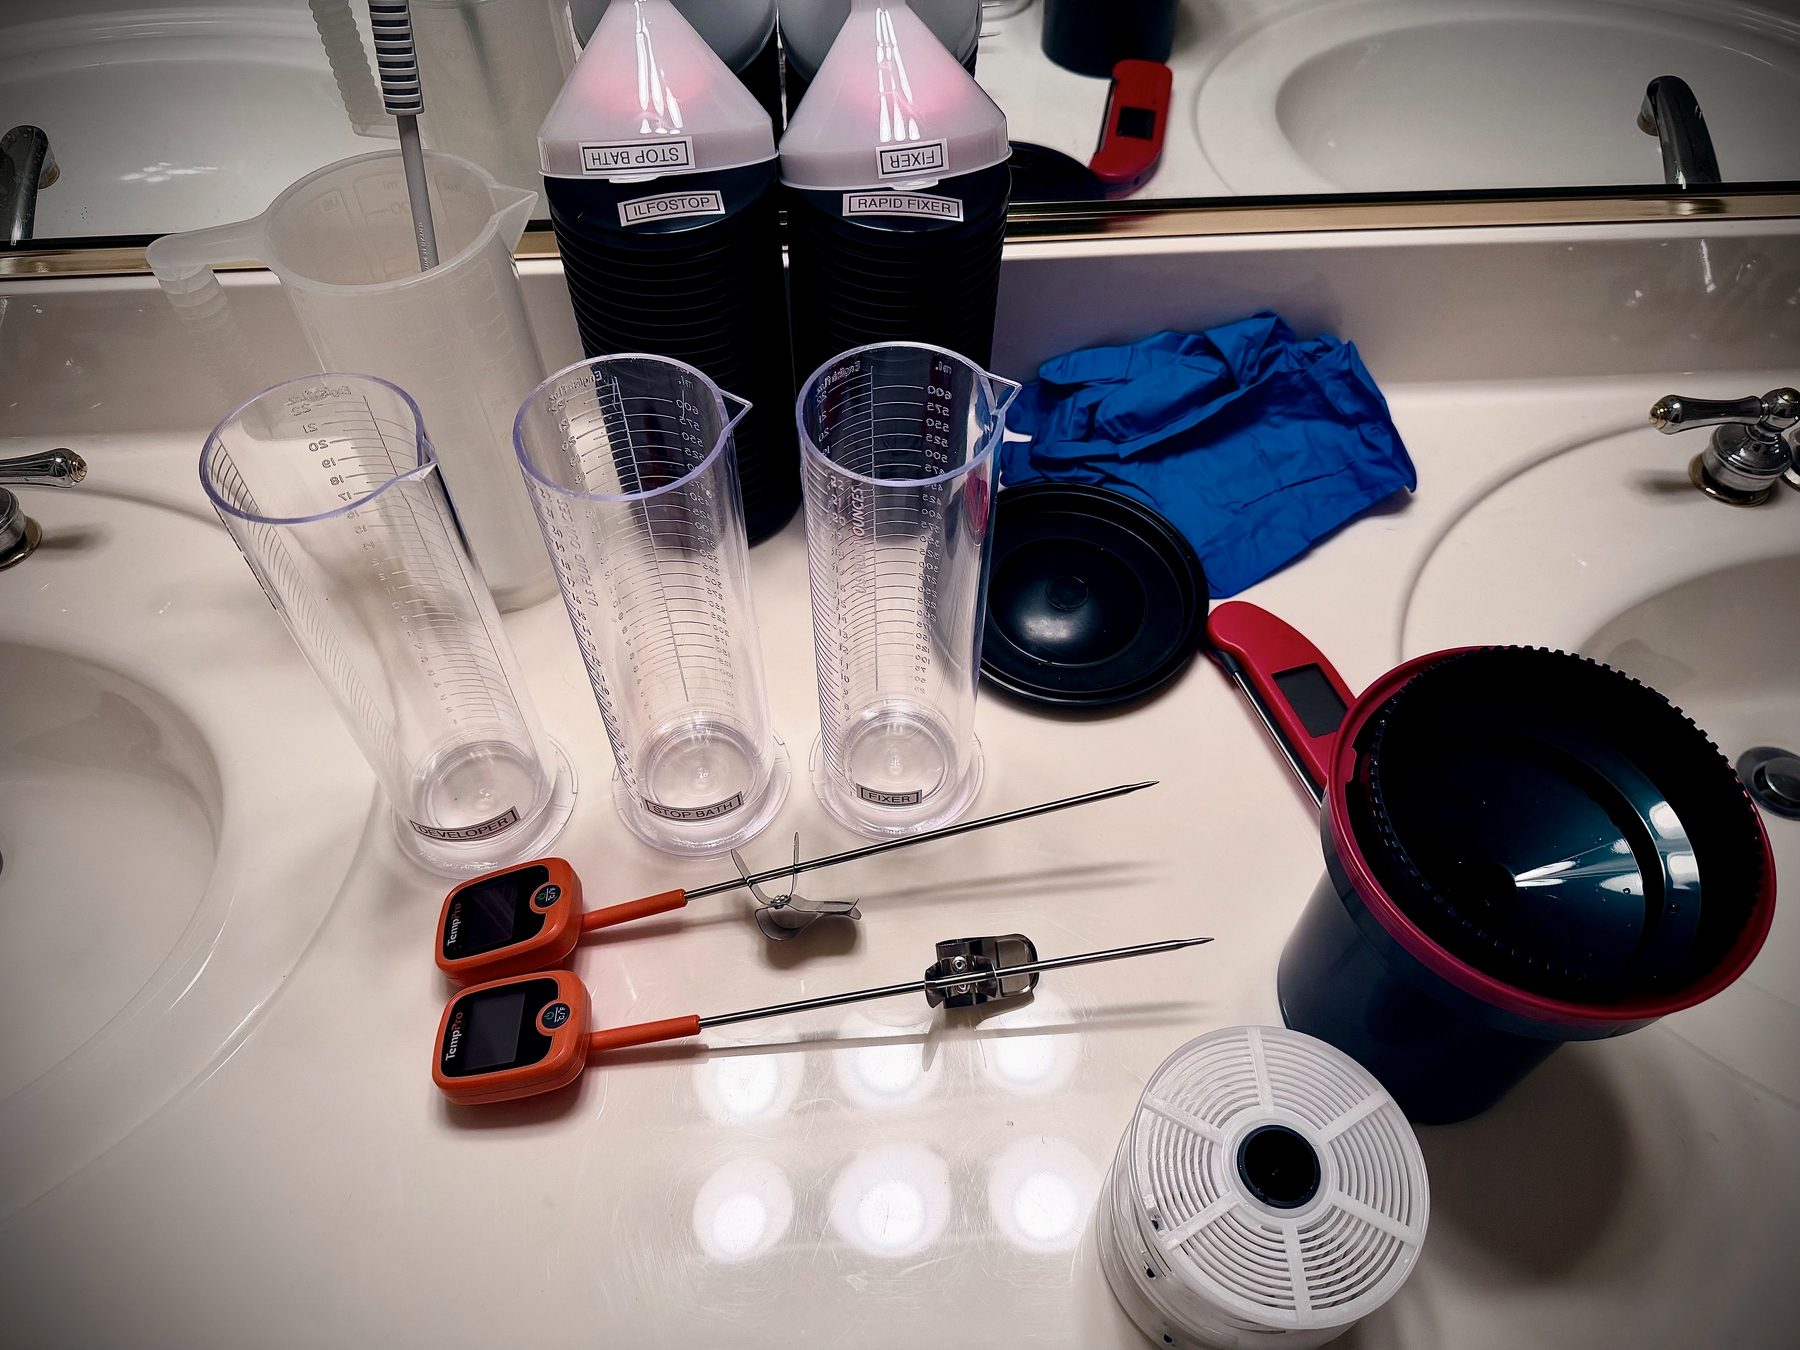
Spent some time today setting things up in the spare bathroom, making a “task card” of the process, and dry-running it to make sure I haven’t missed something. It’s always worth taking the extra time; I learn something each time.
The crazy problem I have right now in the Summer is my water temp. My cold running water is at 34° C, and I need my chemicals and wash water around 20° C. So, I’ve put a 3-gallon jug of water in the fridge and will mix it with warm water to get my desired temp. Kind of crazy.
It’s all kind of exciting. Hopefully tomorrow I can get the first roll done.

Post #7 July 21, 2026
Getting really close to trying my first few rolls of B&W developing. My nature makes me read and study far too much before I do something, so that is slowing me down but should minimize errors.
You can go super simple and use a developer/fixer combo (Cinestill DF96) and just be done, but I want to understand some of the chemistry and the pros and cons of different developers with the film I’m using: Ilford DDX, Rodinal, Bellini RDL, Pyro, Cinestill DF96… which Stop to use, which Fixer to use. Pros and Cons of using a WashAid or PhotoFlow. How hard is my water, etc. You don’t need to know any of that, but I want to. I’ve been watching YouTube videos, reading Darkroom books, reading blog posts, and mostly reading film and developer documentation. That has been the best source of factual information.
I’m getting closer and will probably start with a Paterson tank, AP reels, and Ilford DDX developer, Stop and Fixer. Next, I’ll try Adox Rodinal developer, then the Cinestill DF96 Developer/Fix combo, which seems to have mixed results, so I’ll use a roll of film with nothing too important on it.
I’ve had three sessions of practise in the dark bag transferring film onto the different reels. Which I will say is mandatory. You will find problems, I promise. Use gloves? Which reels do you like? What happens when the film binds on the reel? What are your options if you can’t do it and need to take a break? How sweaty do your hands get? Which scissors work best for you? 35mm and 120 are two different animals; you need to practice with both. Just bite the bullet and sacrifice two rolls of film and practice with them. Trust me, it will pay dividends.
I’m happy with my film scanning setup, so no issues there for now. Just need to shoot more film and start developing.
Post #6 July 8th, 2026
Well, I’m convinced that developing at home will save money and might just be fun. Might be fun, heck, I know it will be fun! I have such fond memories of working in the dark room, and this will be a tiny step toward that feeling.
I’m waiting on some C-41 chemicals, and I have my black-and-white chemicals to start with. I’ve watched numerous videos to refresh myself and have practiced rolling film onto the spools in the dark bag a number of times, both 35mm and 120. I’m sticking with the AP plastic spools for now. You can see what I’m using, what videos I watched, and other resources here.
I’m going to start with a few rolls of black-and-white film. Get comfortable with that, then dive into the temperature-sensitive C-41 developing.
I’m starting with rolls that don’t have anything precious on them to make sure I know what I’m doing. Any great shots will be brought to the local lab until I get my process down. There are too many ways to screw it up.
I hope to get a blog post up soon about my process, what I used, and how it went. I’m guessing within a week or so, I’ll have time to start.
Equipment for this first round of B&W developing
ILFORD:
- Developer: DD-X
- Ilfostop
- Rapid Fixer
- Washaid
- Wetting Agent
Paterson Tanks, AP and Paterson spools/reels, dark bag, scissors, film retriever, hanging clips, Pec Pads, and distilled water.
Post #5 June 26th, 2026
Film Journey: I’ve been thinking a lot about photography class back in high school and our darkroom work. Made me research today what folks are doing for film developing at home these days. That was a rabbit hole! Found some good stuff, and boy, it hasn’t changed much. There are some nice kits out there, and for B&W film in particular, it’s pretty straightforward stuff. I’m blowing off the kits and may just get a super simple piecemeal setup and try a roll or two at home, what the heck. You can get everything you need for about $120 if you shop around. If you get good results, it wouldn’t take long to recoup your investment with the cost of developing. If you’re going to jump back into film, why not jump in with both feet? More on this foray later.
Post #4 June 24th, 2026
Film Journey: Another update to home digital camera film scanning. I read the user manual for Negative Lab Pro and its scanning recommendations, and I tried a second batch of scans. I think they turned out much better. I’ll show a couple of shots from yesterday’s post, plus a few more, that show the difference between the lab scans and my scans. It surprised me and made me realize that the lab isn’t always the best.
I will say that color scans are the hardest. B&W is pretty darn easy; there is no white balance to deal with, and you’re basically just adjusting brightness, contrast, black clip, and white clip, unless you use toning.
I’m most surprised at the sunset pictures. The lab scans came out really dark, and I thought I had just screwed up my metering, which metering for that shot is tough with the bright sky and dark street, but I wasn’t even going to process those shots, and I’m glad I did. When I scanned them and used Negative Lab Pro with just standard settings, they were not that dark at all. It just shows me that whoever scans your pictures, they, or the software, is making a judgment call on your negative. I think I’d rather be making those decisions.
I’m rather enjoying the process and creative outlet. Looking forward to getting some good pictures to work with now.
Of note, I’ve been using Negative Lab Pro for negative conversions, but I just found another way from CineStill Film. They have LR, PS, and ACR presets that do the conversion. I downloaded them, but haven’t had a chance to play with them yet. You can watch a YouTube video on how to use them here.
The first seven shots are professional lab scans from my local lab. The next seven are my scans. Ignore the quality of the shots, I just wanted to shoot a couple of rolls of film to test the Rolleiflex and my metering. You can compare them yourself. I’m working on getting that cool image reveal slider on my blog, but it’s a bit more complex than I thought. It would be nice to have the slider and see the lab scan vs my scan in the same shot. Hopefully soon.
The learning continues!


My second try with new knowledge and tweaks to the software and camera settings.


Post #3 June 23, 2026
Film Journey:
Today was mostly an office day to see if I could do my own scans of my negatives and get them close to the professional lab results.
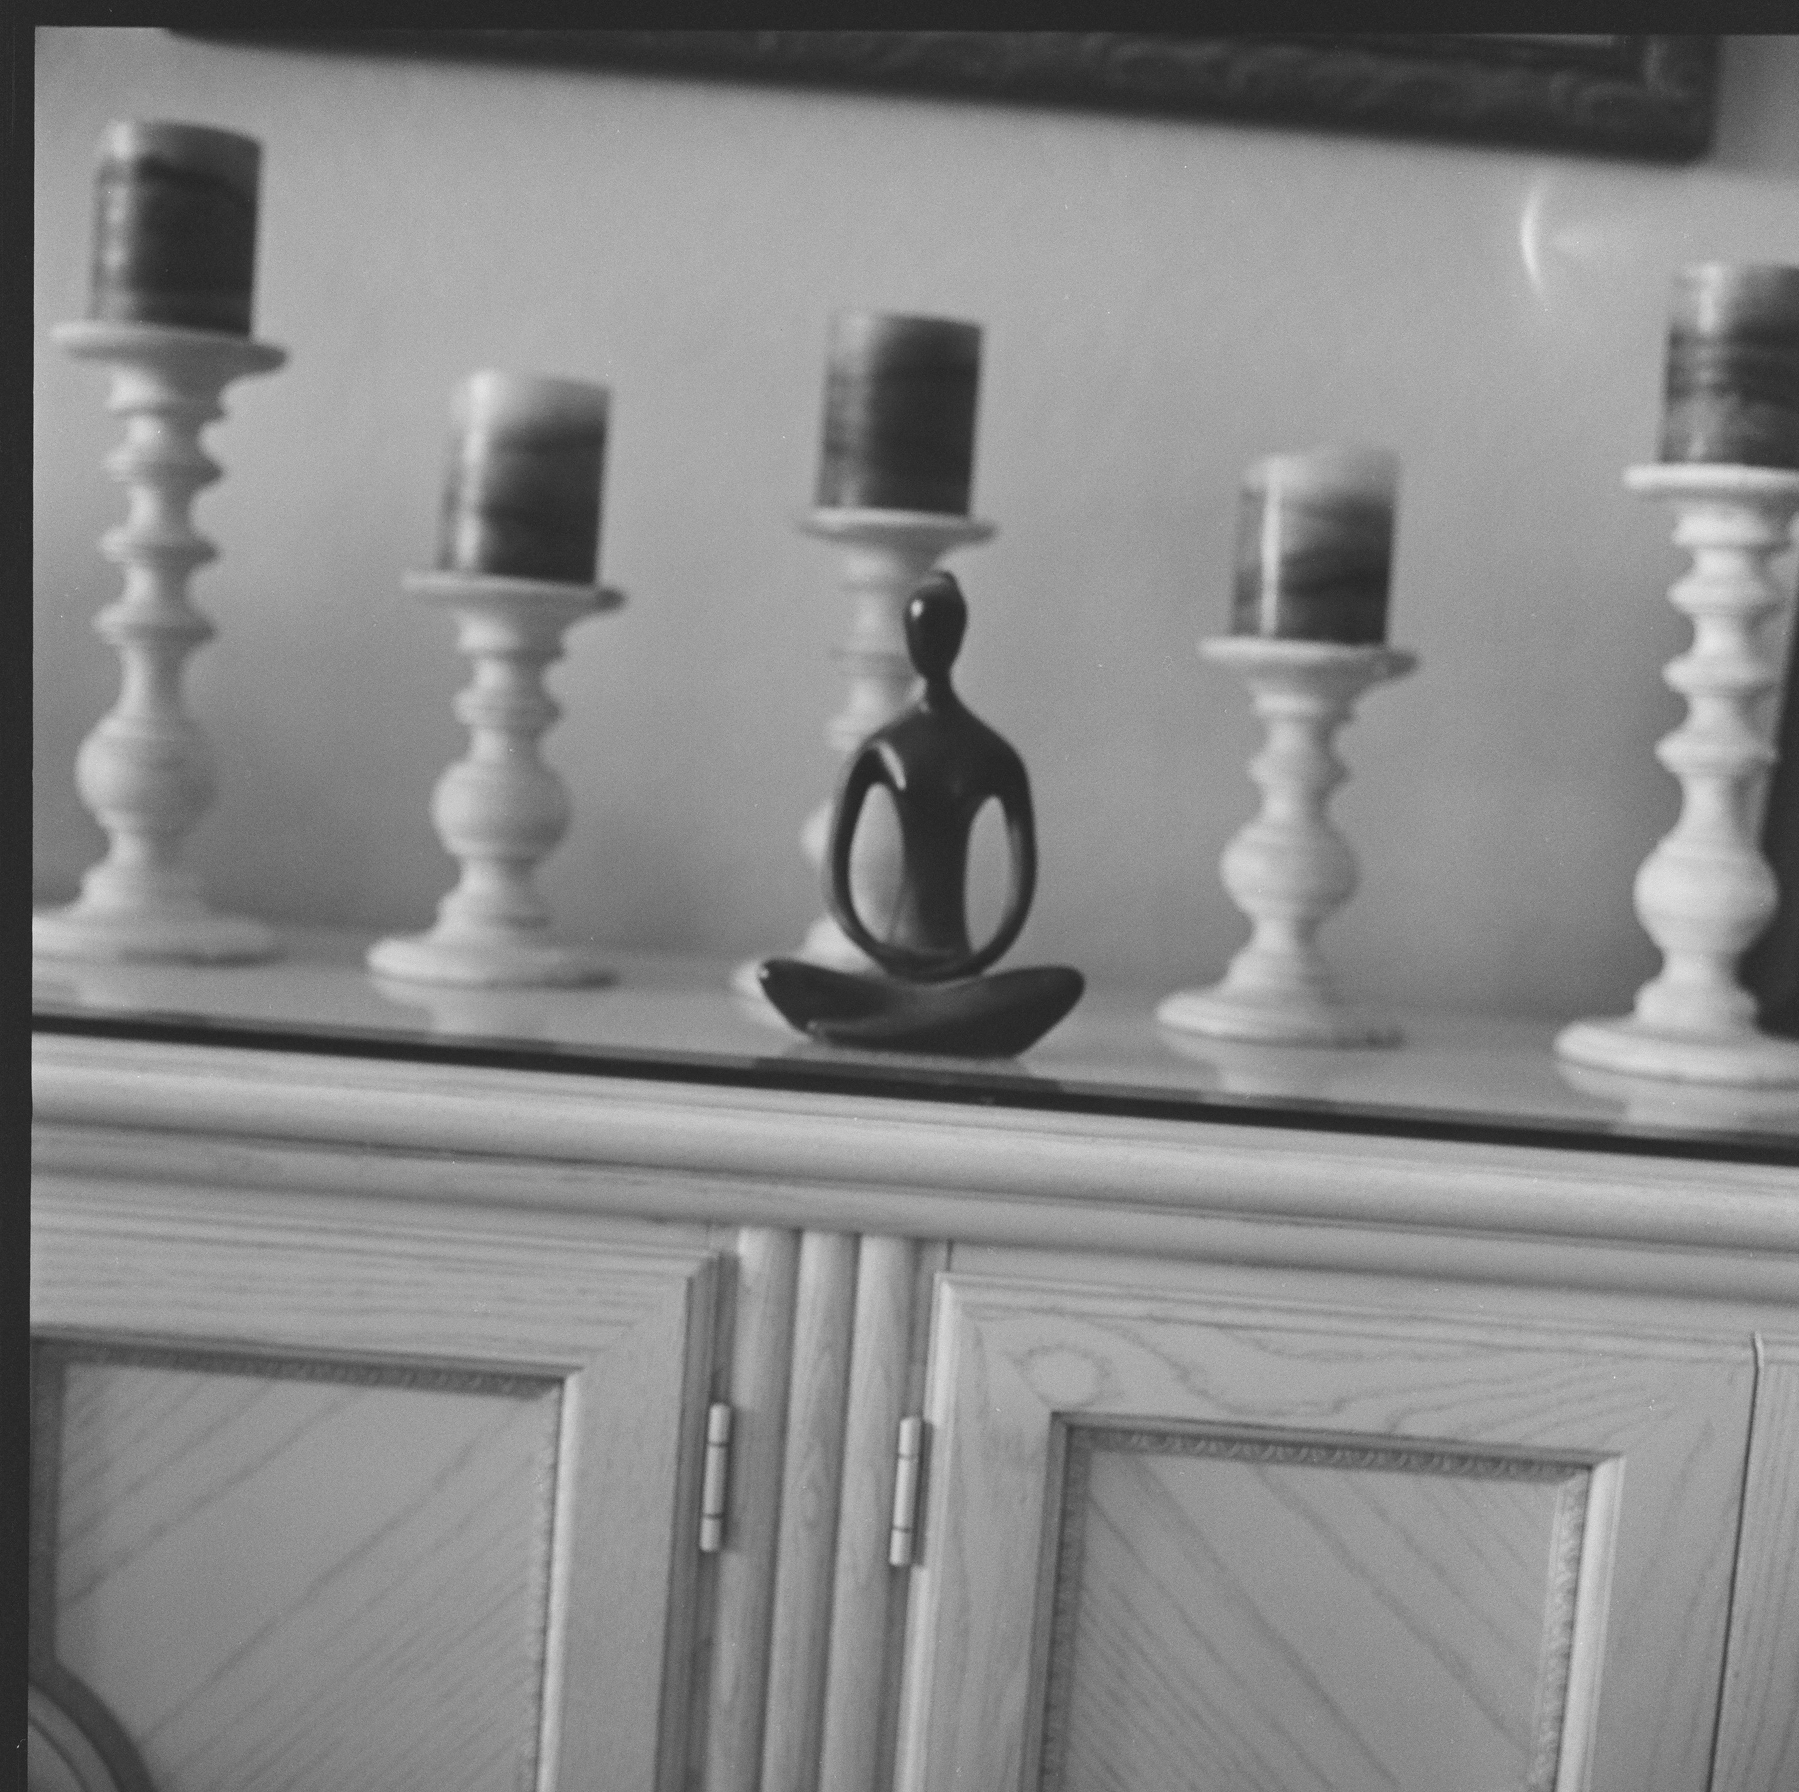
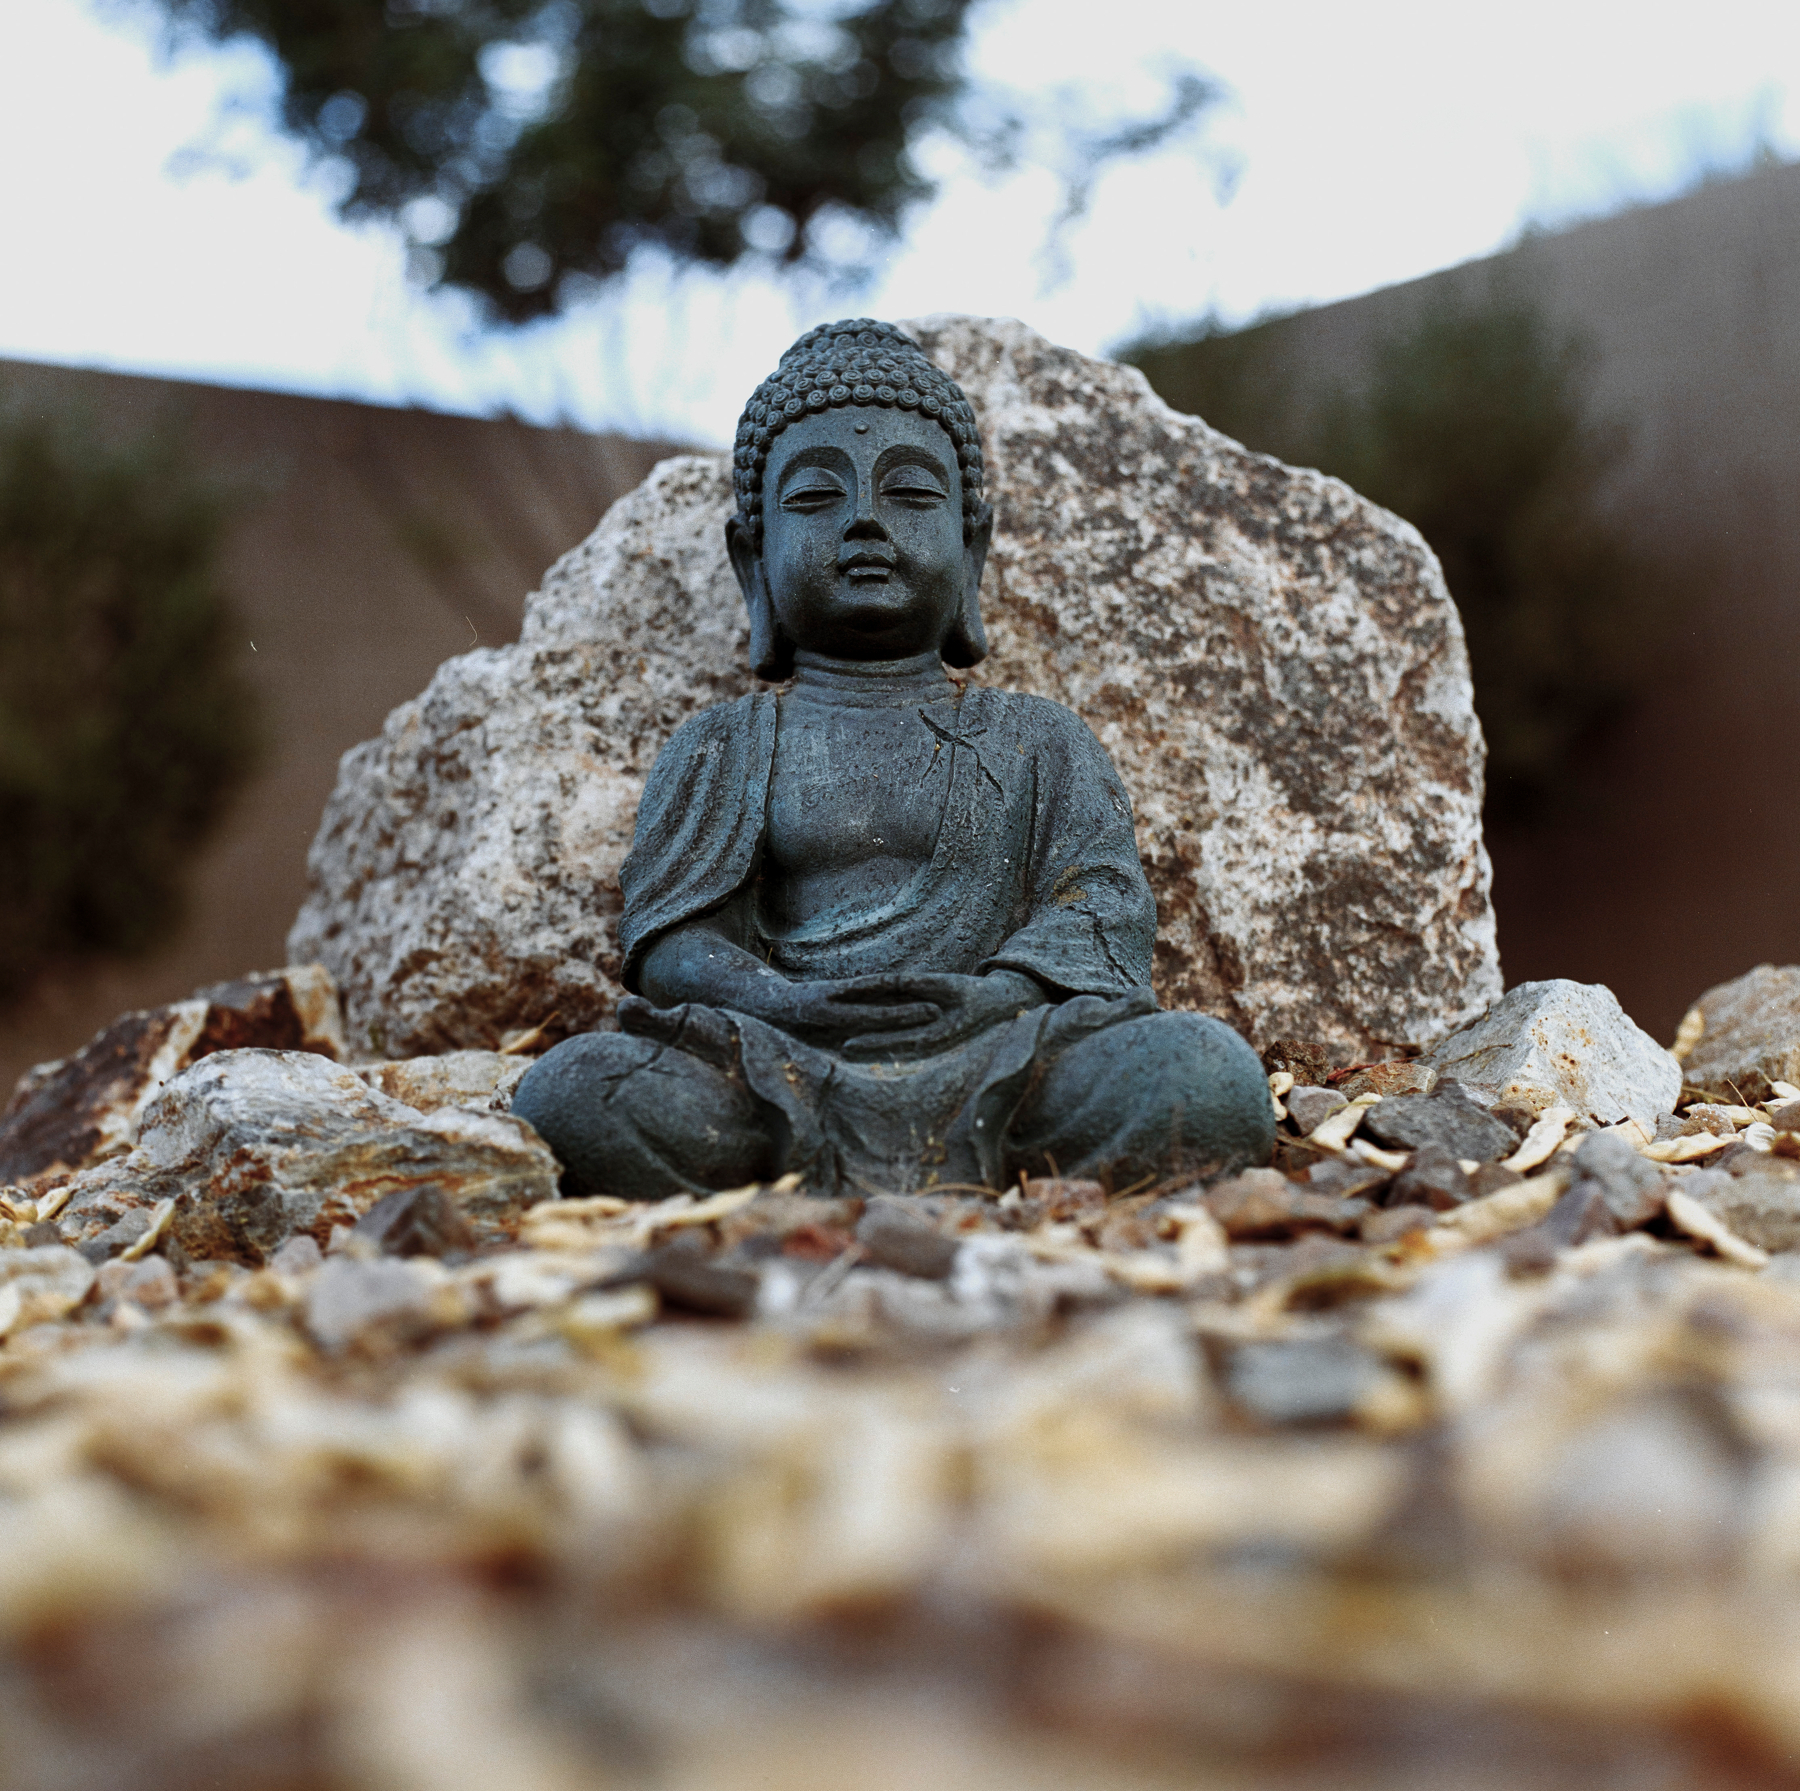
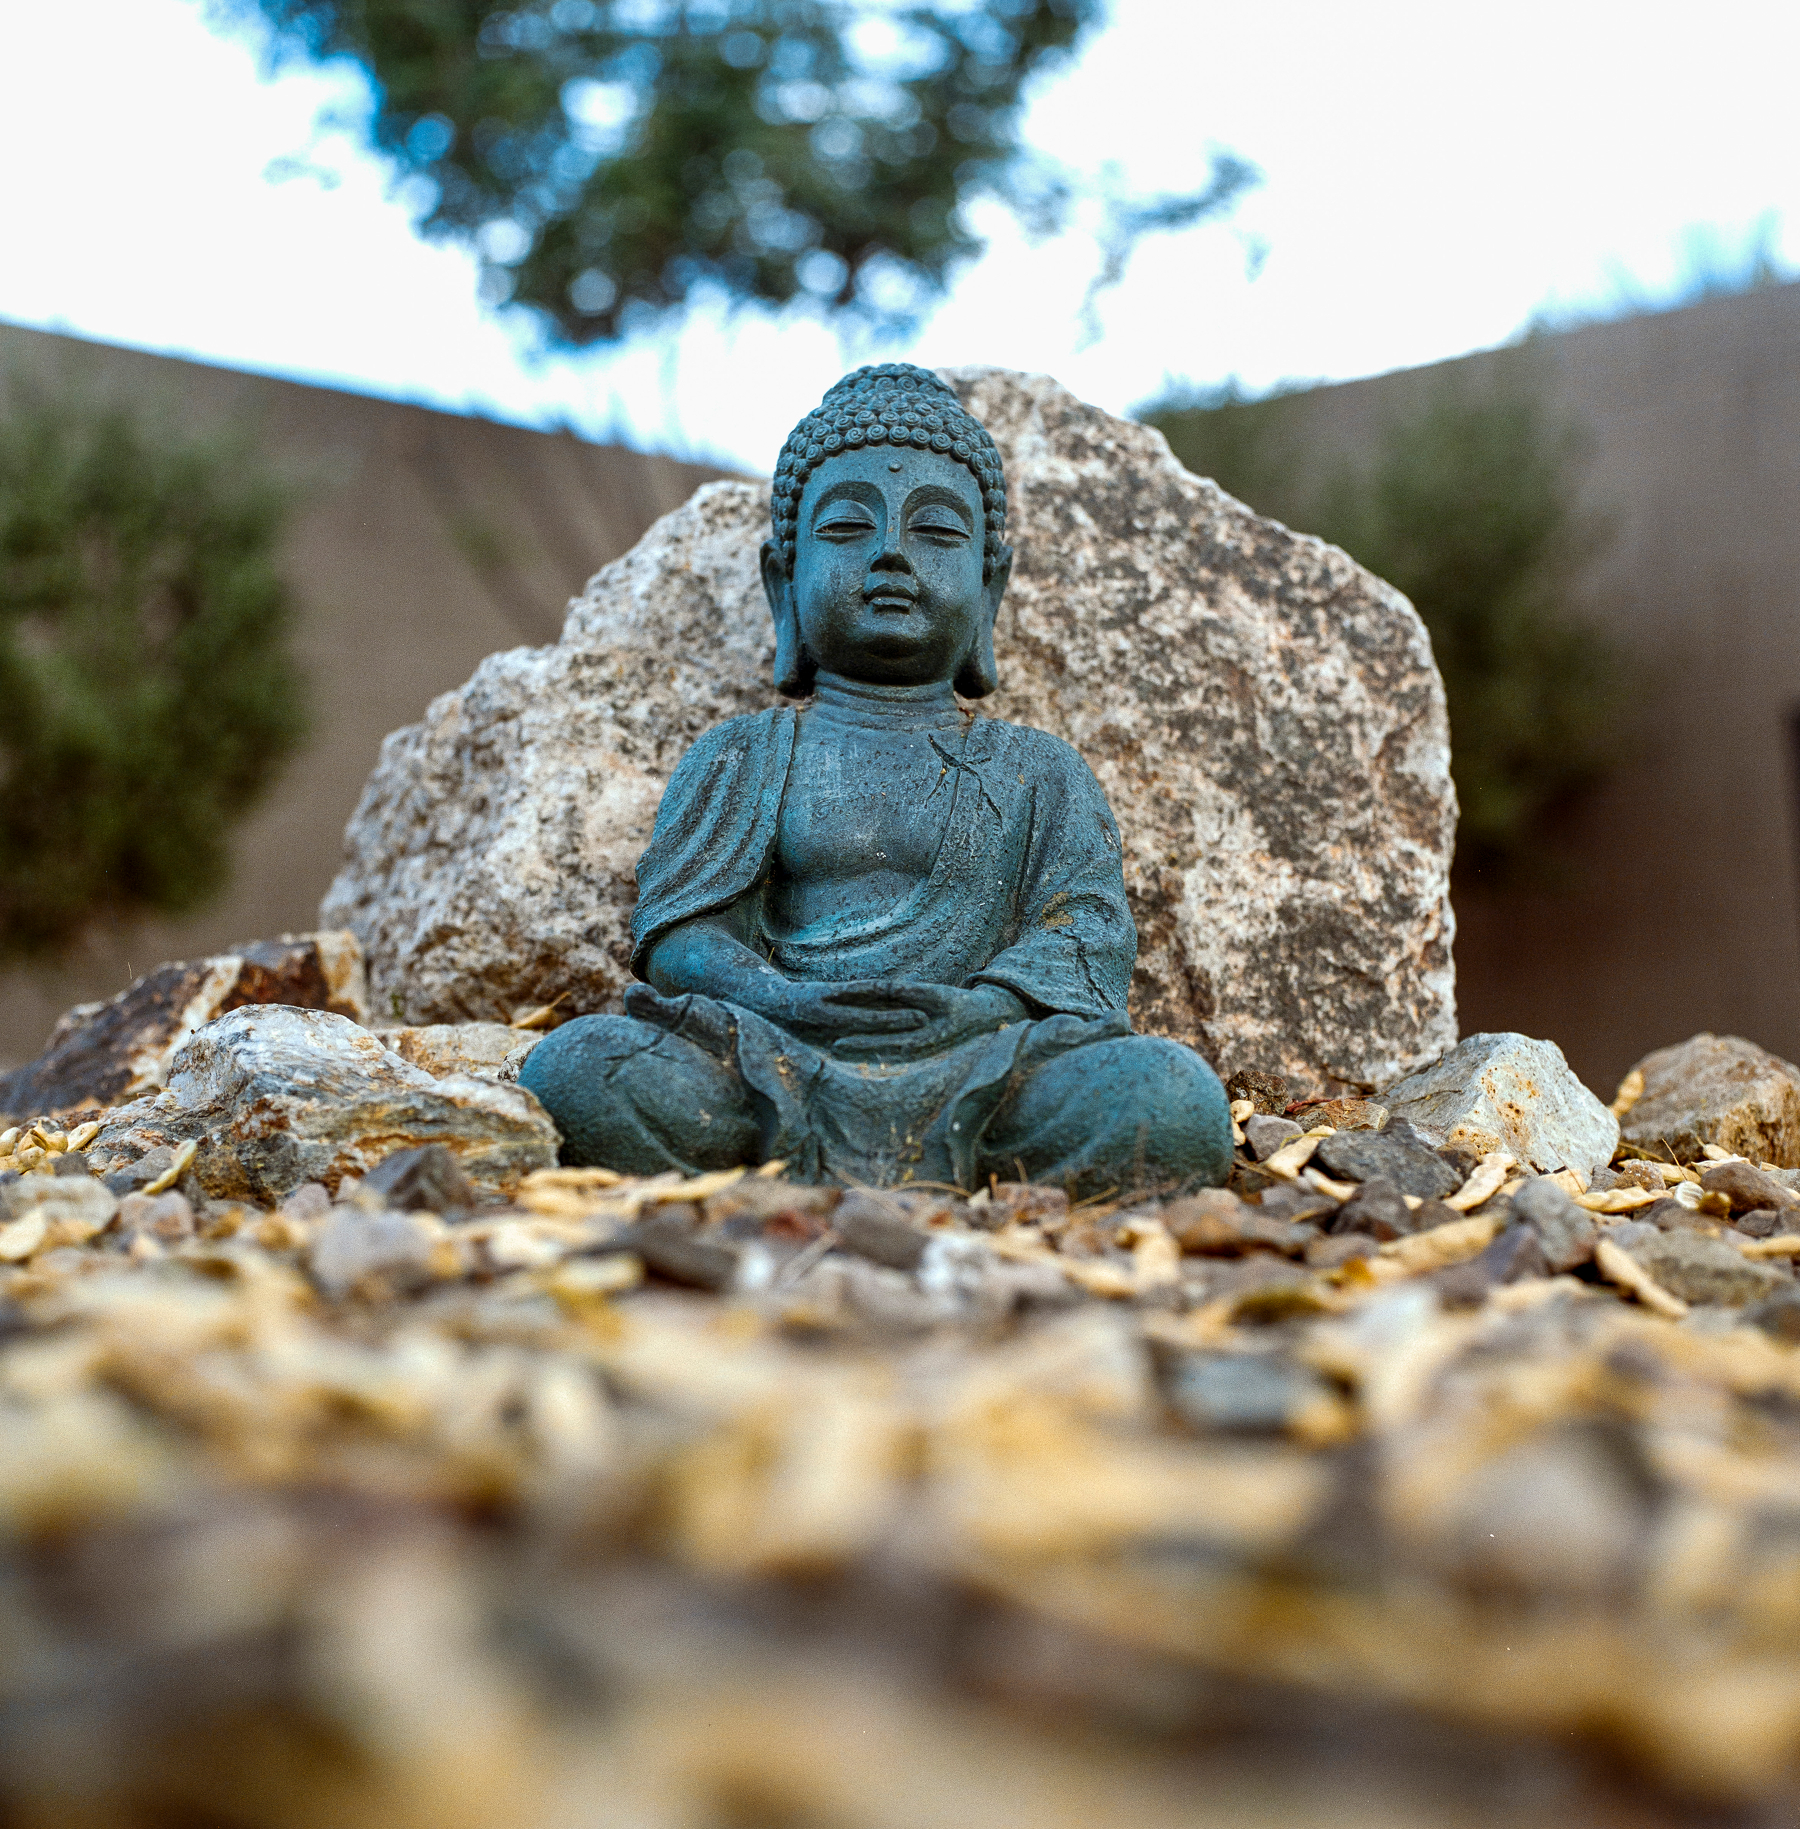
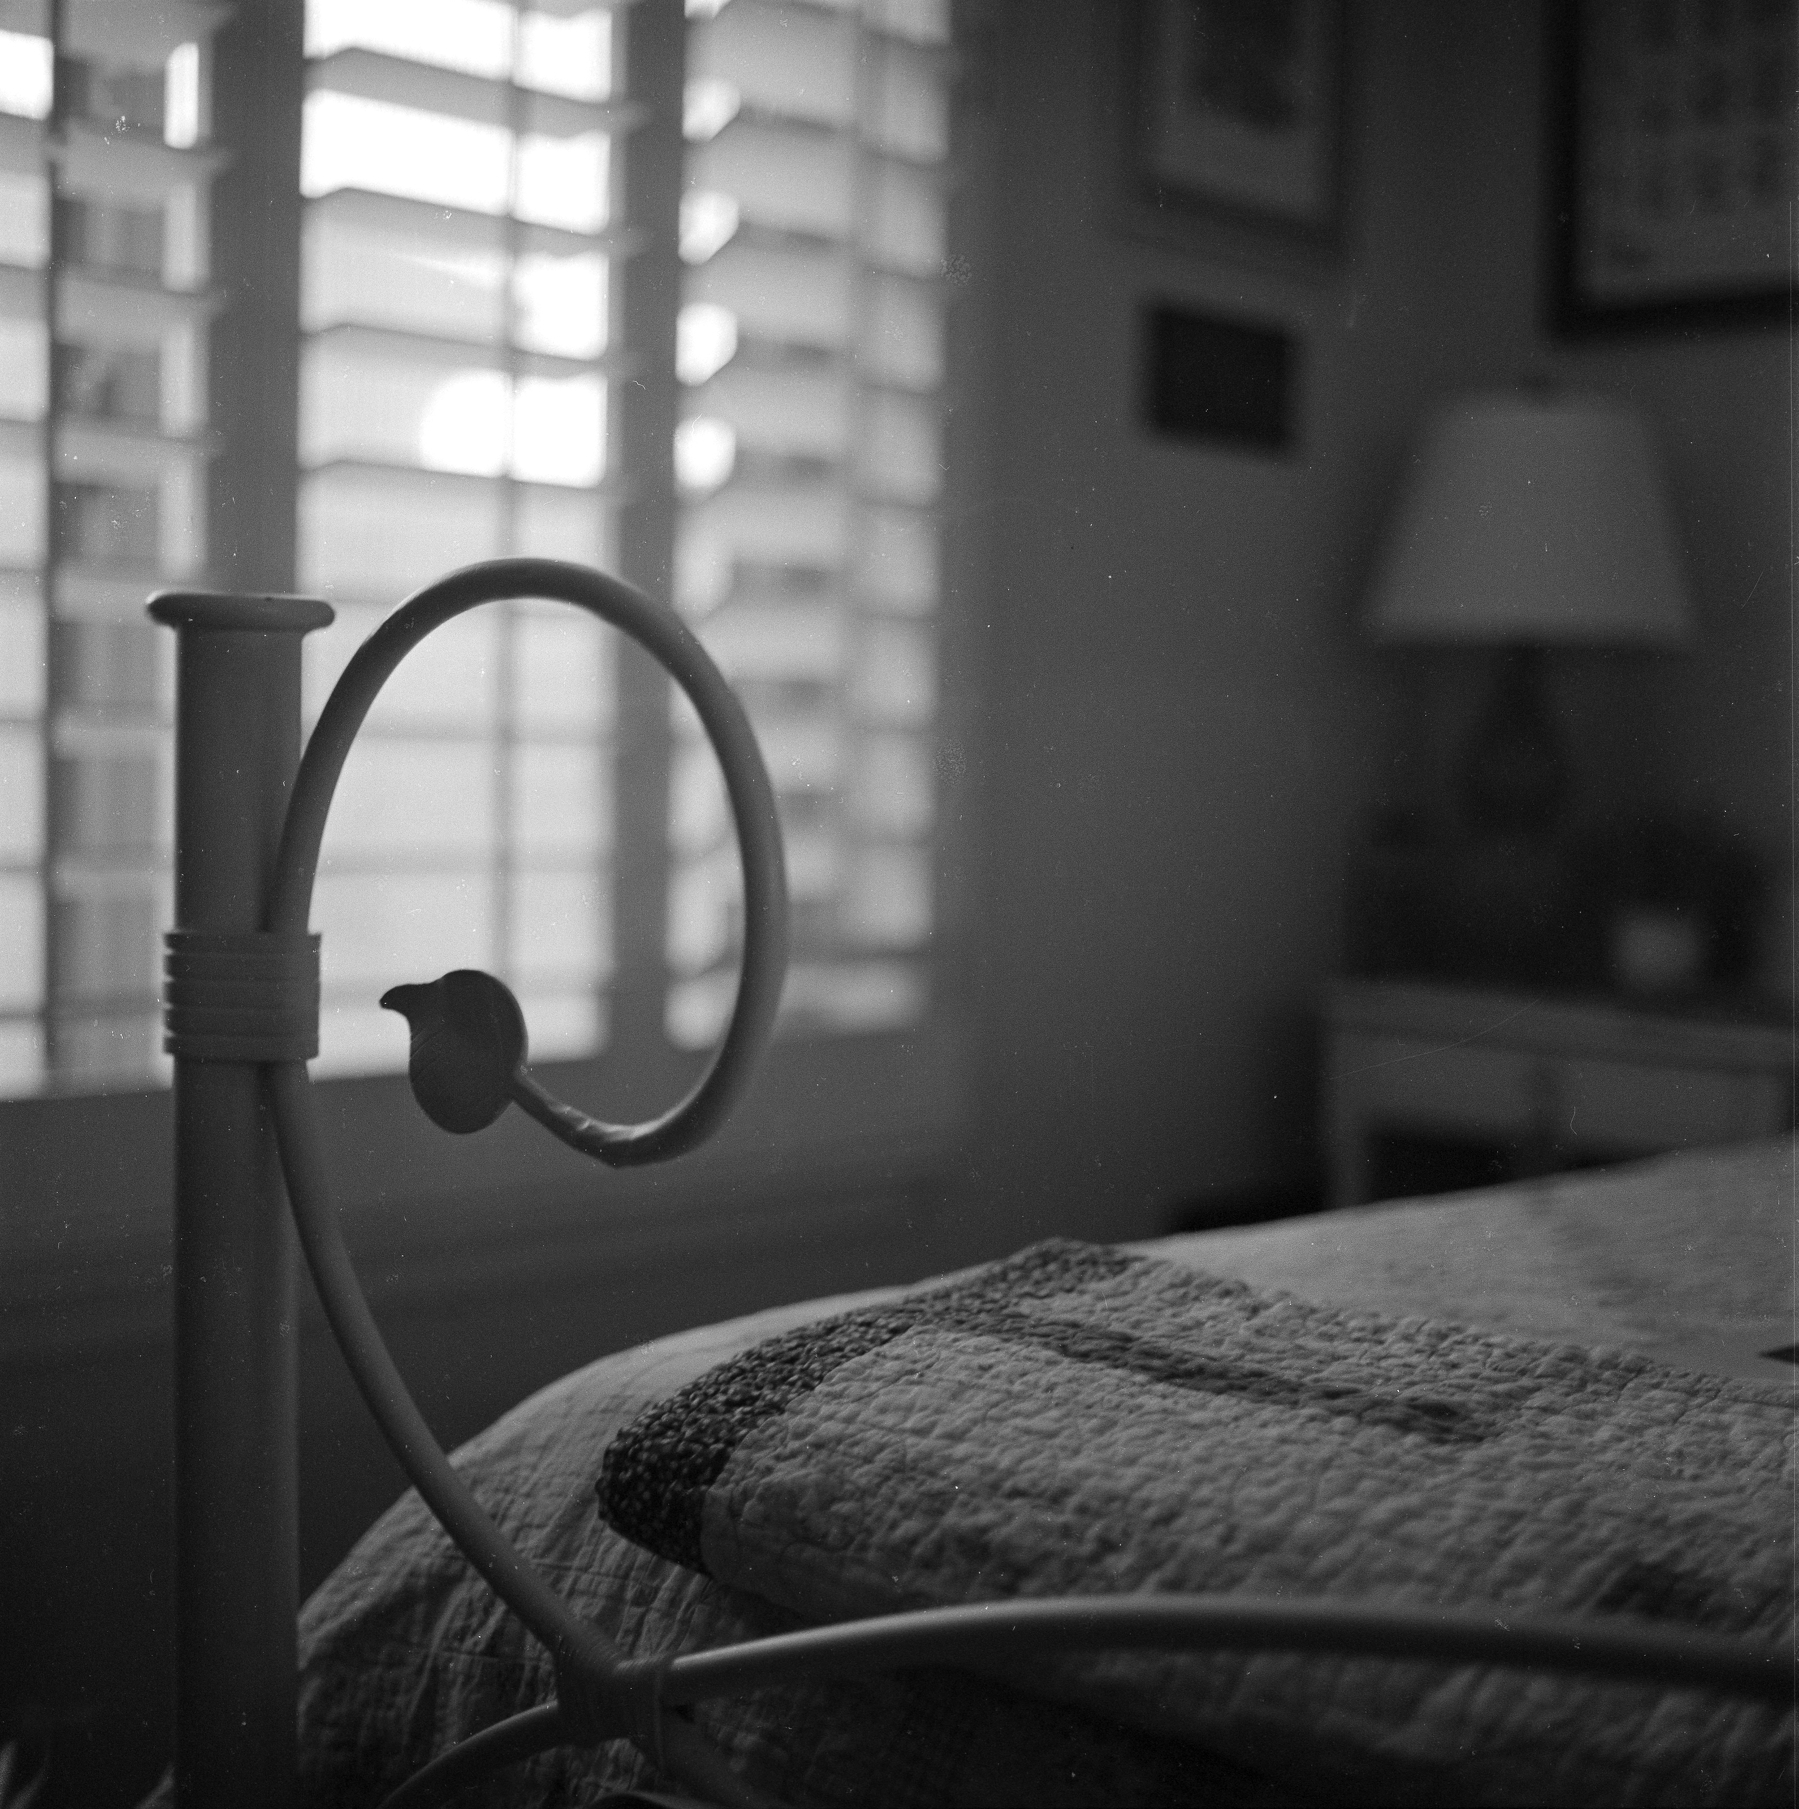
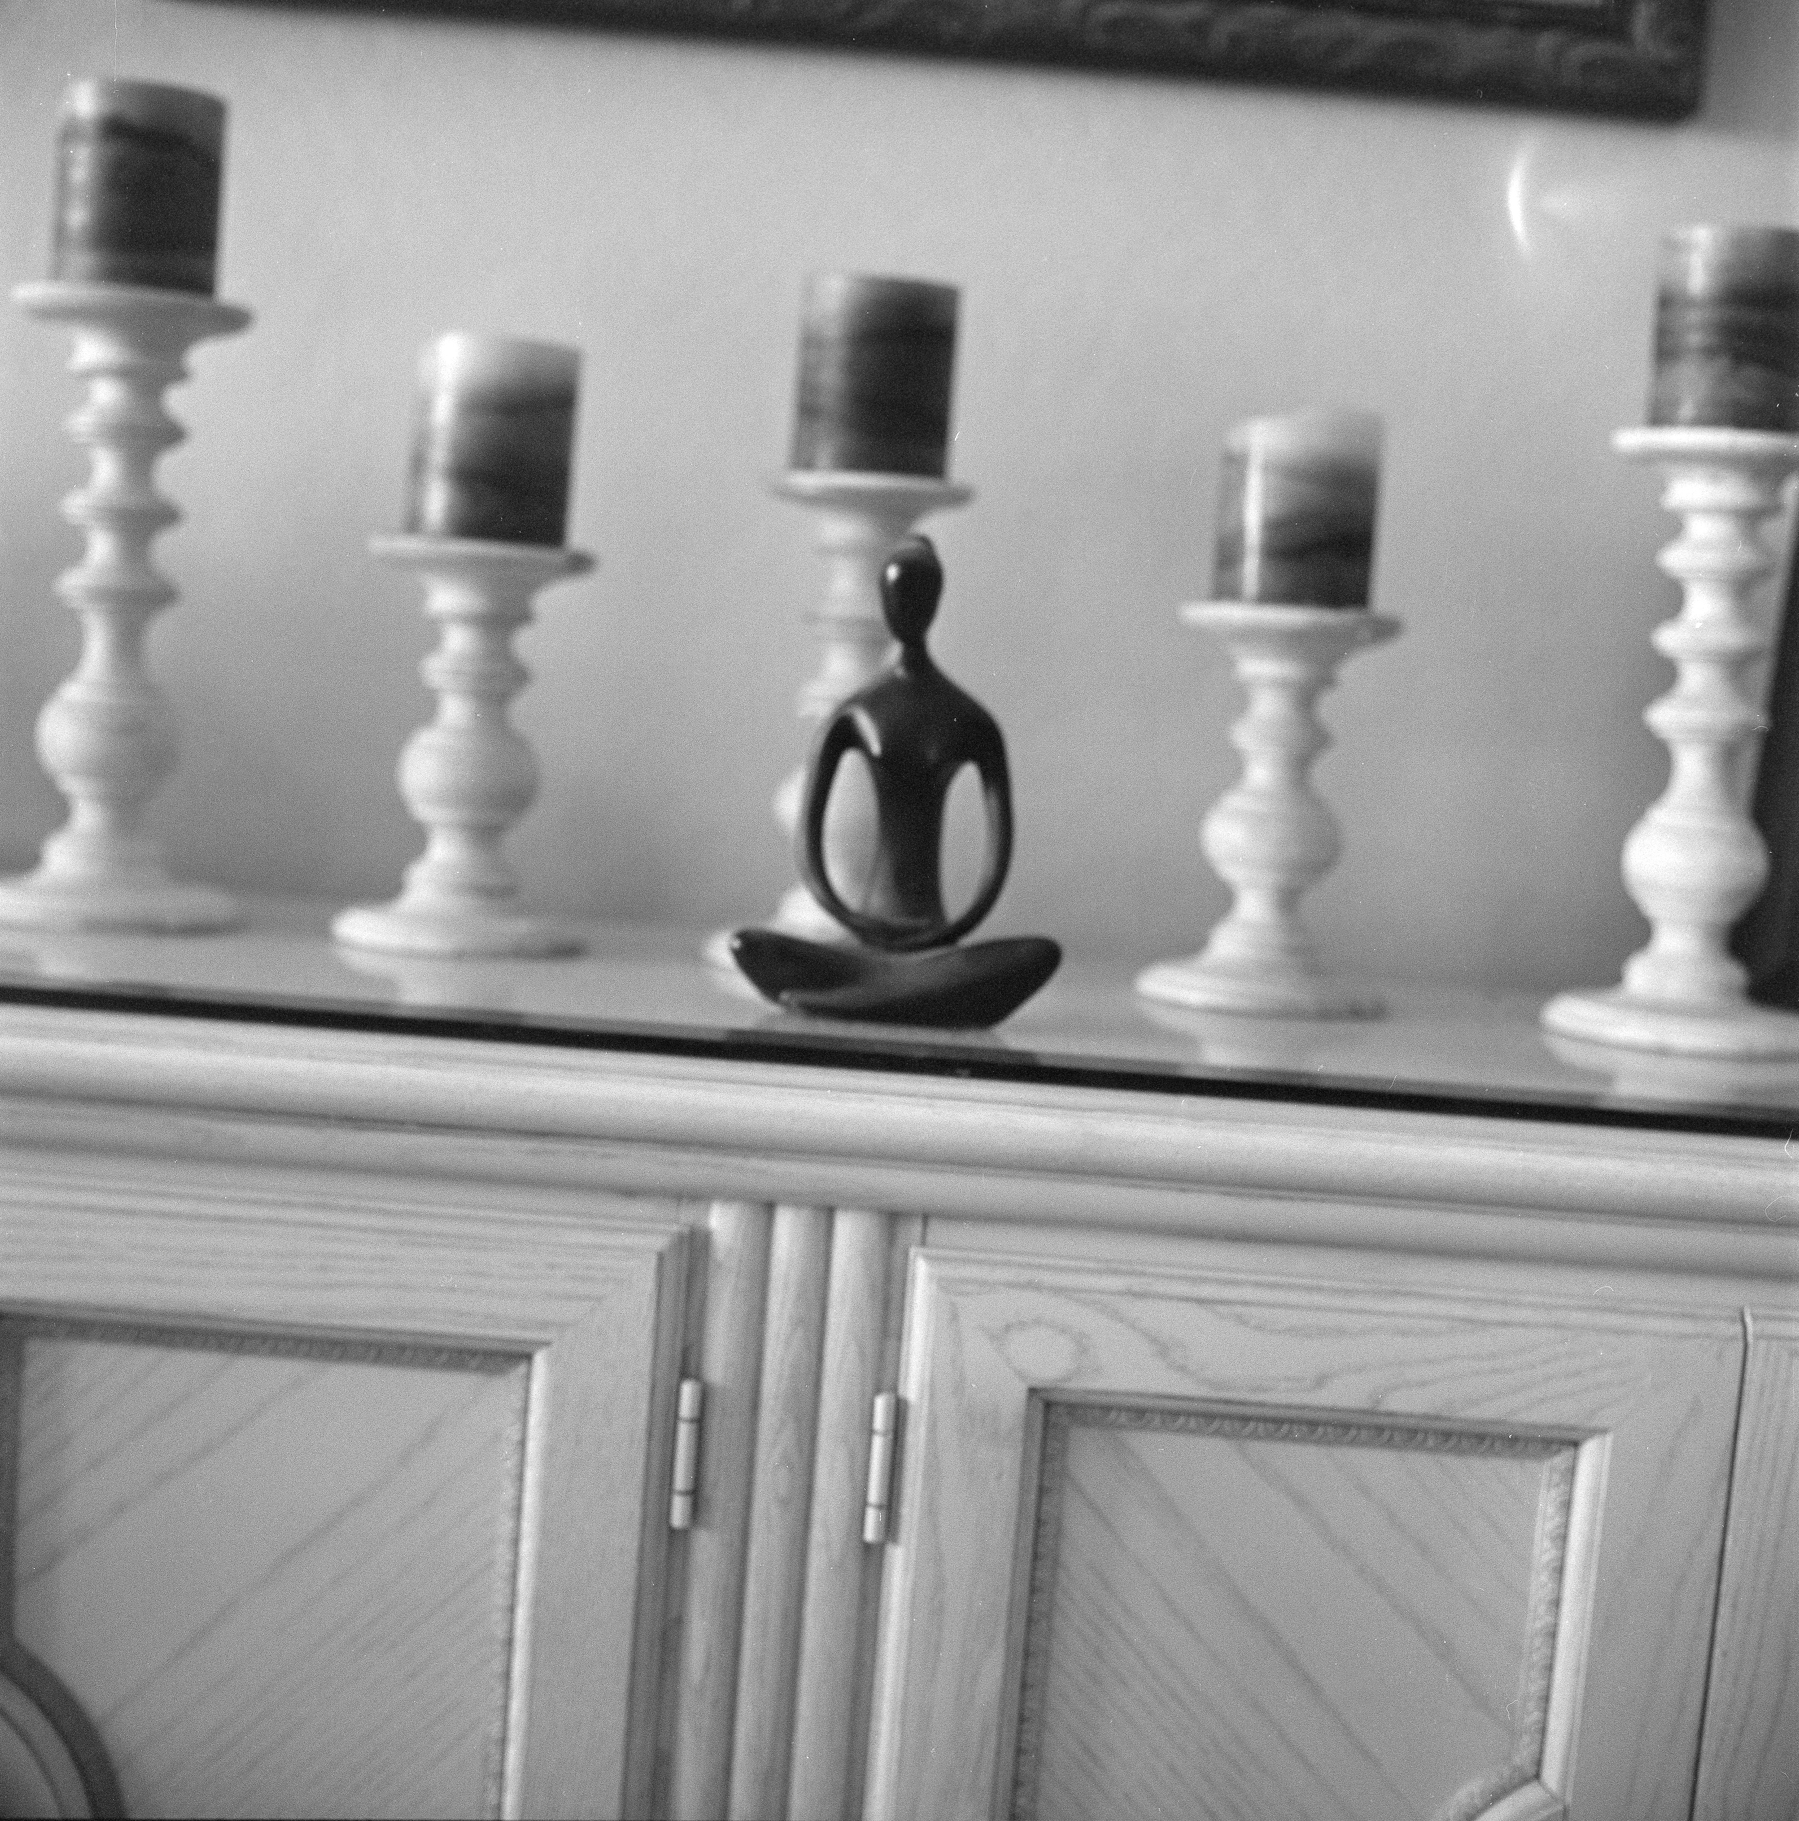
I’m going to post the professional lab scans, then my camera scans. My goal is to be able to scan my own negatives and at least come close to lab-quality. I know labs vary widely, and I only have one lab to compare to right now, but I don’t think mine are that bad, especially for my first attempt. There is a pretty steep learning curve, and I’m sure I’ll get better as I learn more and practice. Please ignore the photo content; these were test shots to make sure my grandfather’s Rollei was still working and my light metering technique was working. I was just shooting random stuff around the house. Oh, and ignore the dust! My word, the dust on my black-and-white negatives was horrible. I’m going to have to be way more careful in the future.
I’m also going to have to decide where I’m going to document my film journey. Here in Stray Pixels, or I should probably just make a proper page over on Cliff538.com. I will give this some thought.
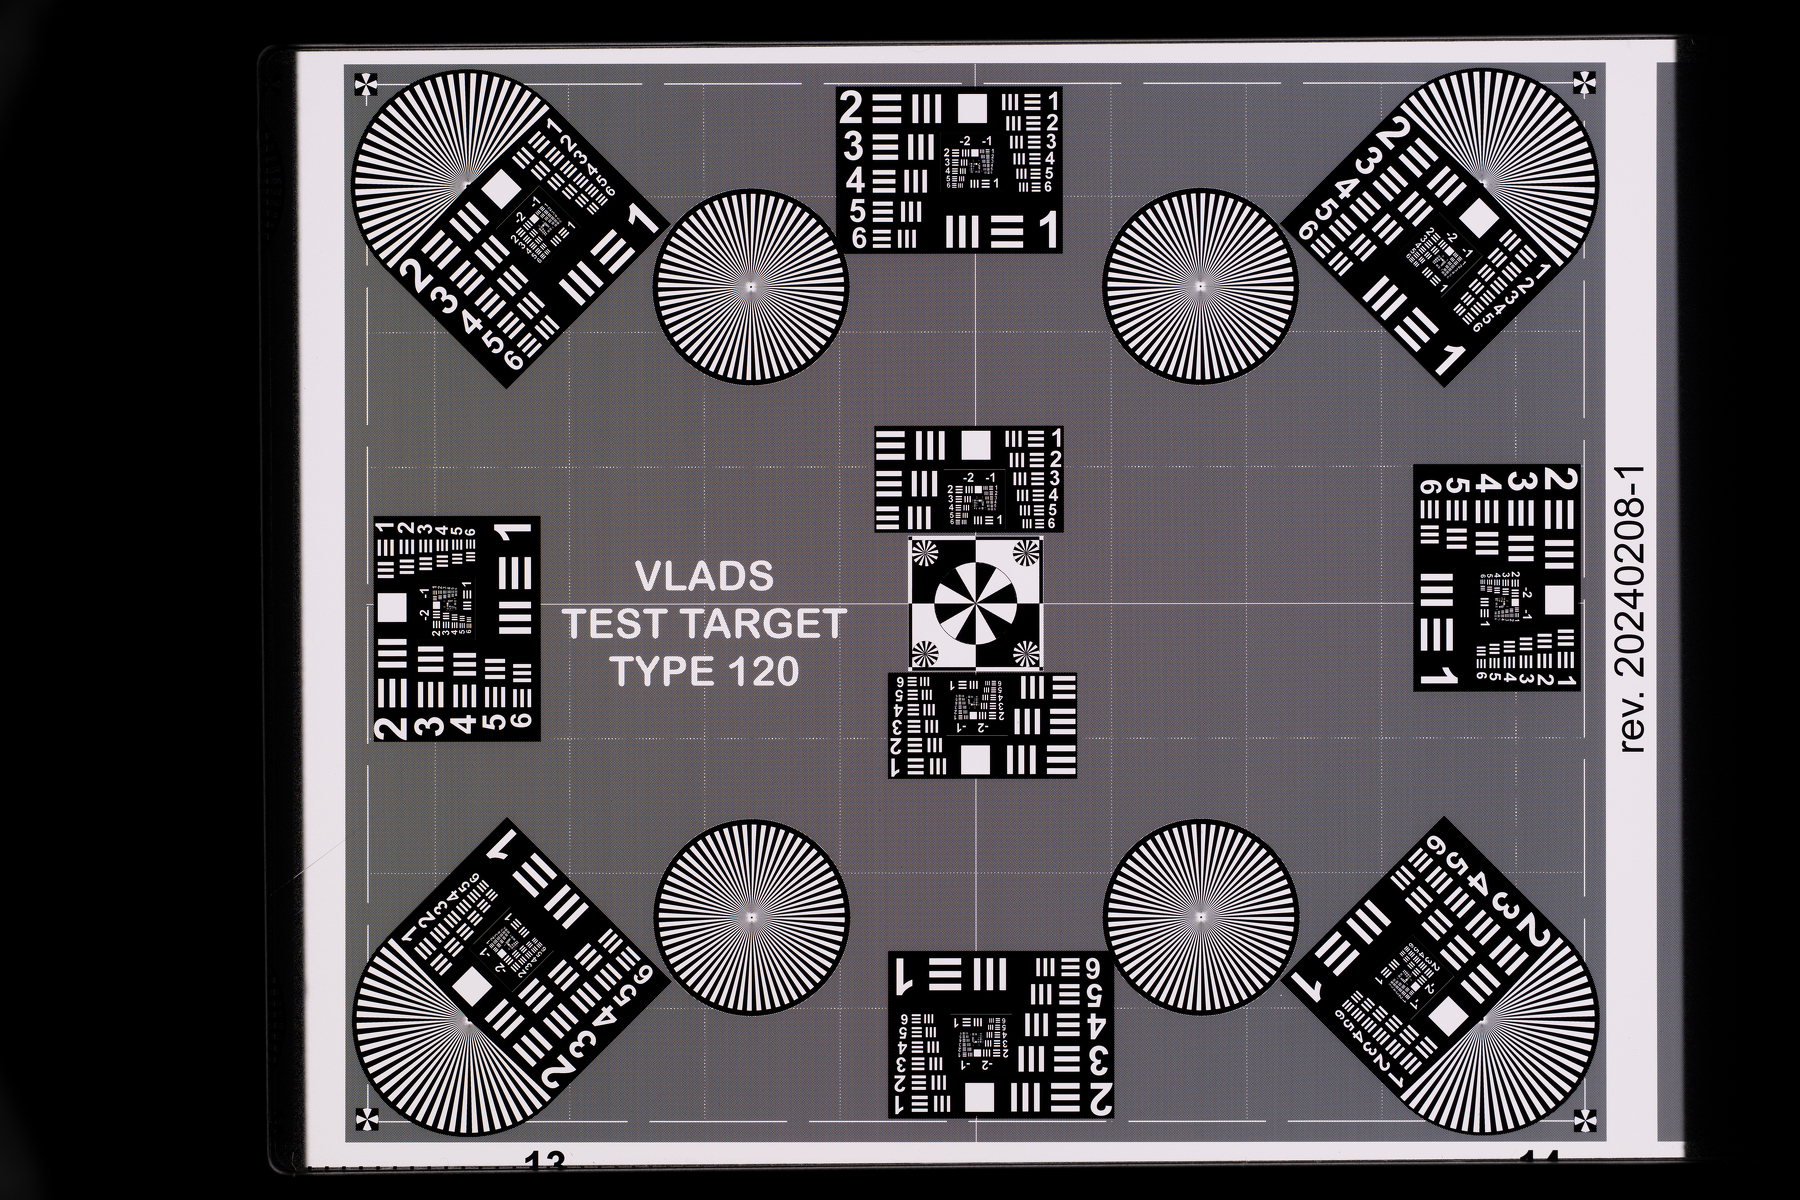
The last photo is a Vlads Test Target. It’s a simple concept that works really well for testing sharpness, especially in the corners of photos. Setting up your camera and film scanner so that everything is straight and parallel is really important. Then figure out which aperture setting on your lens gives you the best focus, especially in the corners. I was using f/8 on my lens, and there is some softness in the corners. This warrants some testing with other apertures.
I used my Nikon Z8 with an MC 105/2.8 lens and a Valoi 360 system. Processed with Lightroom Classic and Negative Lab Pro.
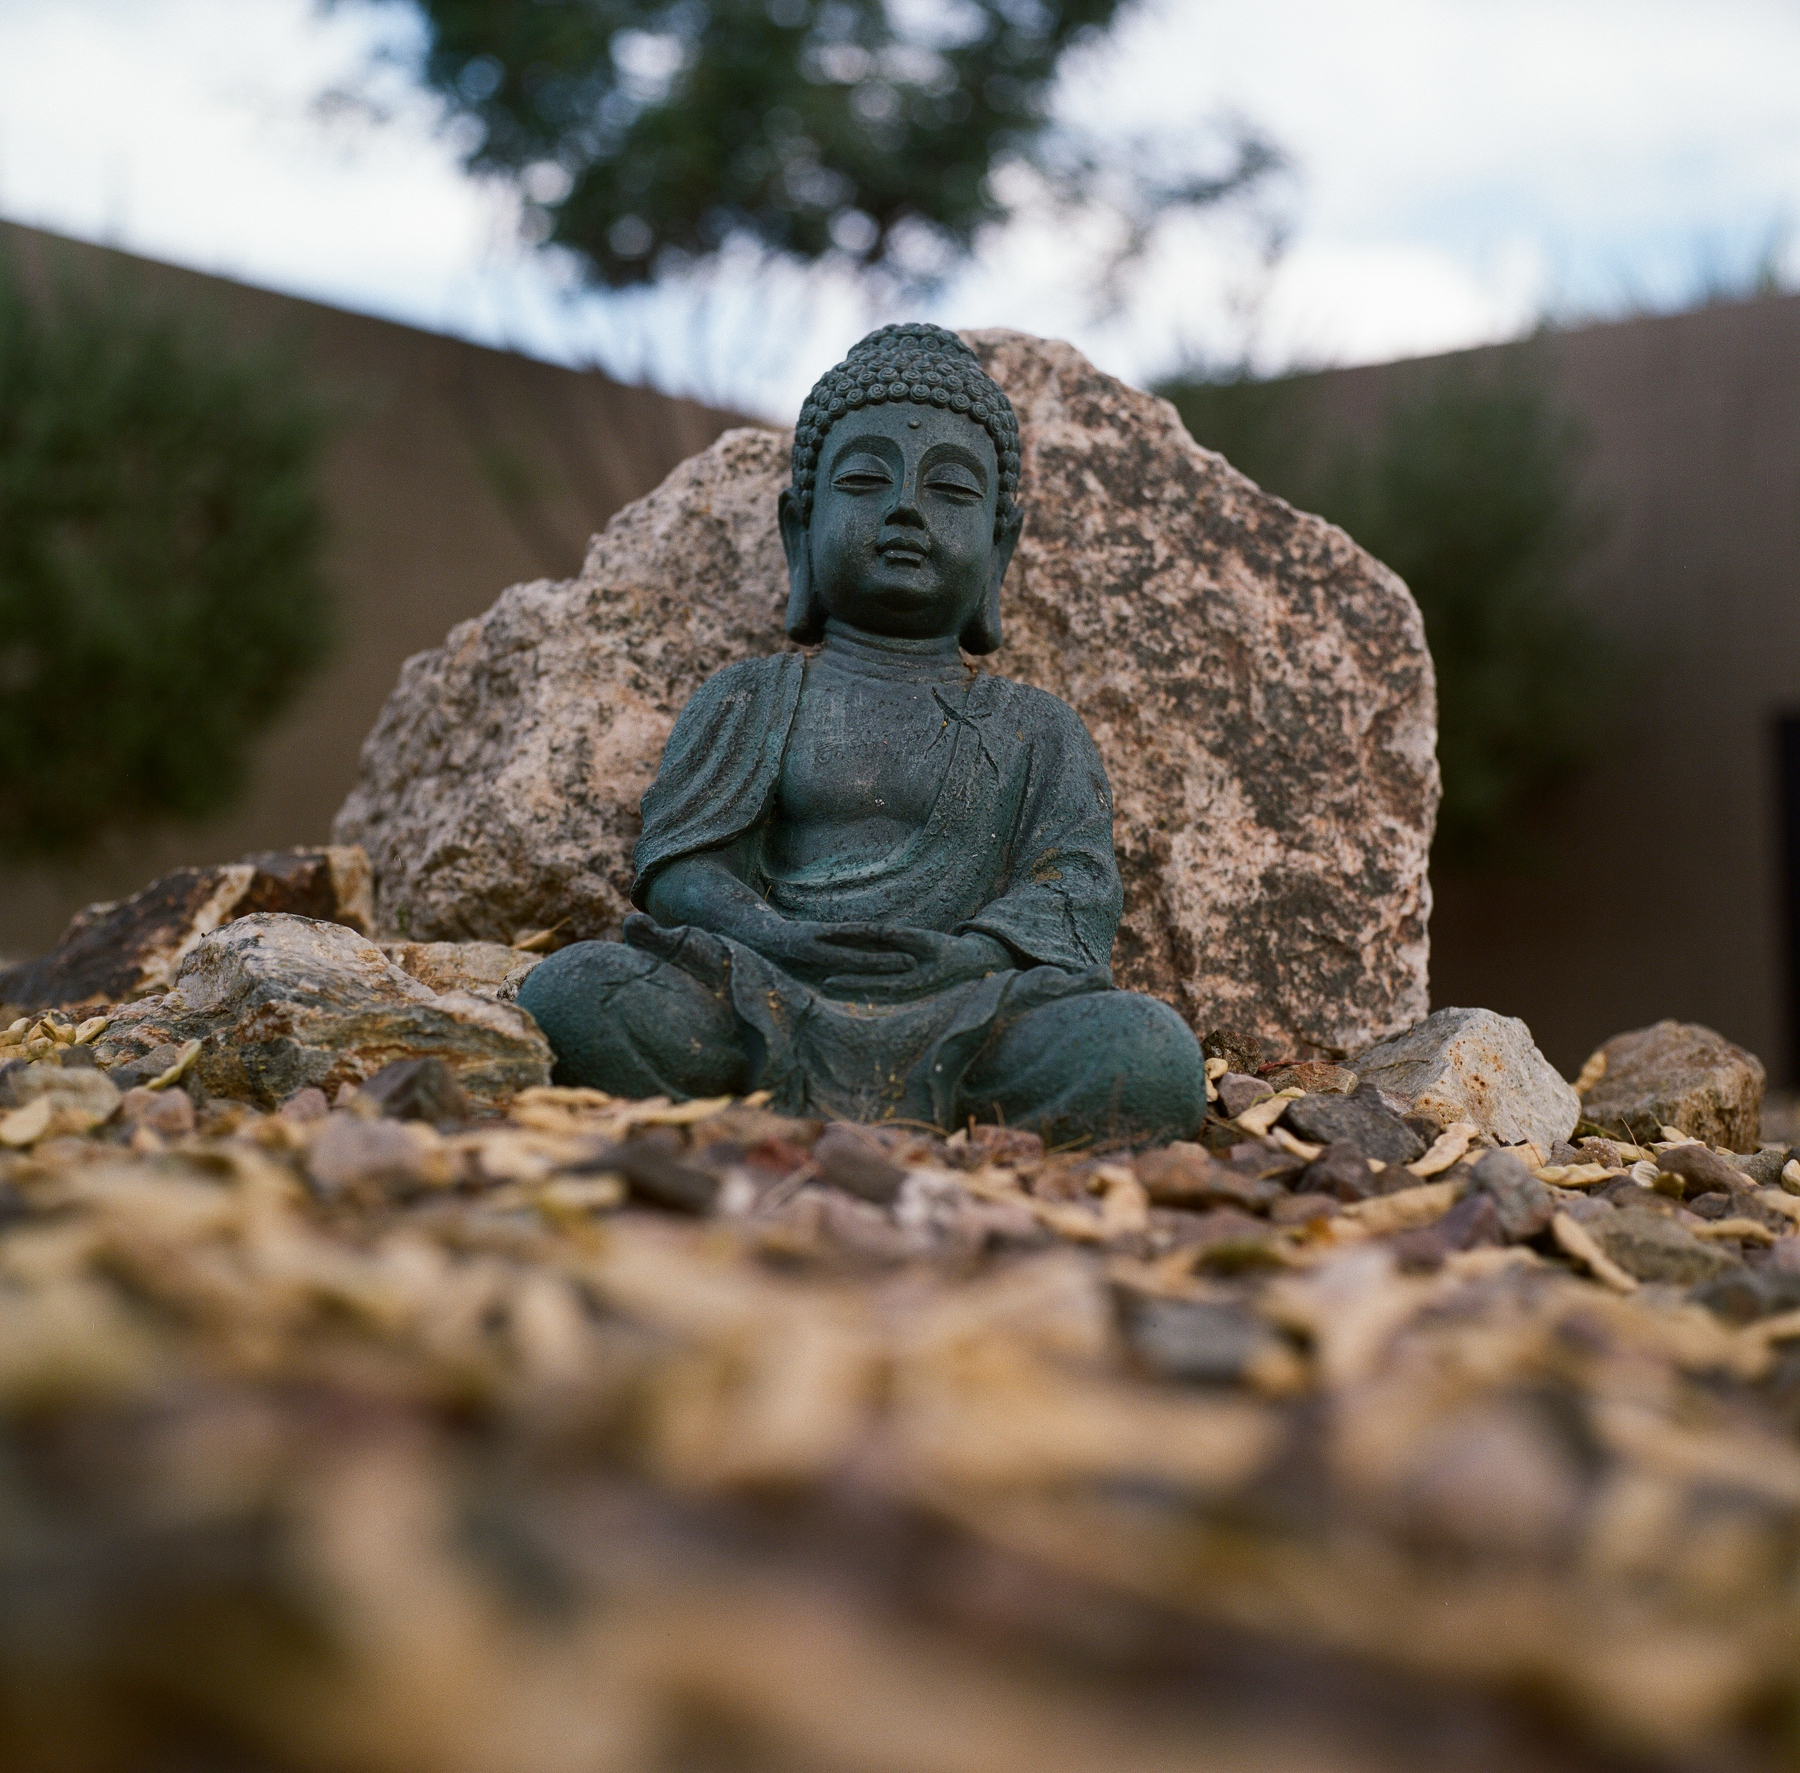
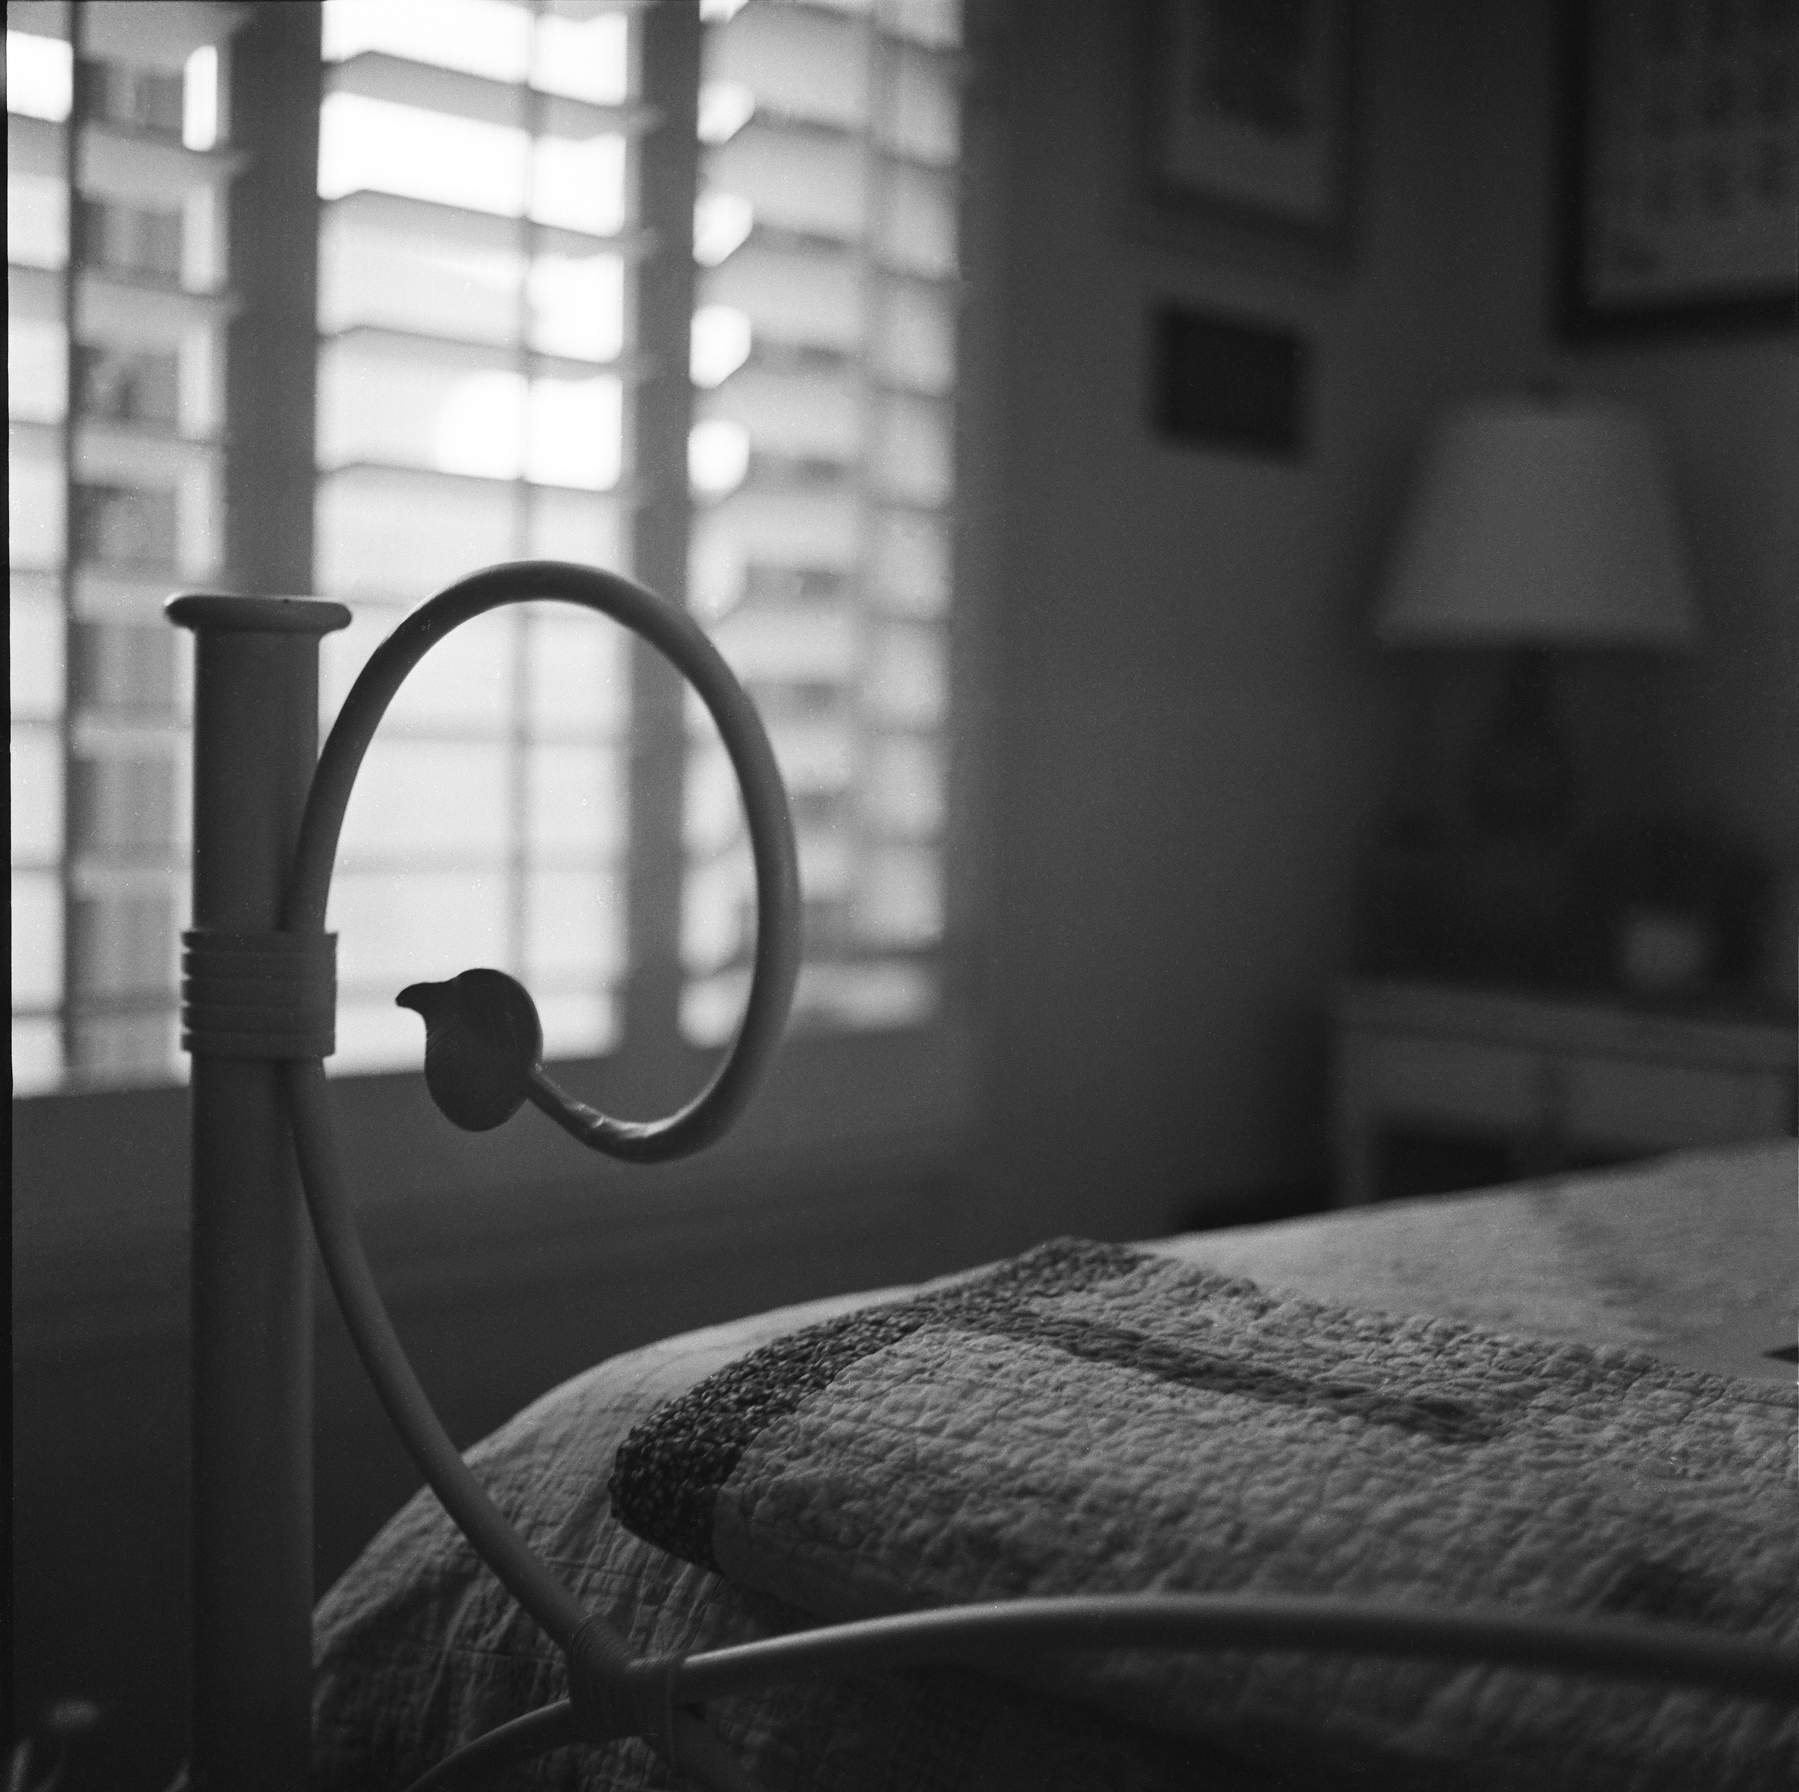
All shots taken with a Rolleiflex. The color film was Kodak Portra 400, and the B&W was Ilford HP5 400.
Post #2 June 17th, 2026
Film Journey: Got my first roll of Portra 400 back from the lab today. These would be the first pictures taken with my Grandfathers Rolleiflex in over 40 years, I believe. I didn’t take the time to take good photos because I just wanted to make sure the camera was working, didn’t have light leaks, and that my light metering technique was at least in the ballpark. (Grandpa Leamer, your beautiful Rollei still takes great pictures…)
Still waiting on the Ilford B&W negatives/scans.
Down in Stray Pixels, I’ll put the one shot that is even slightly worth showing. I’m very happy with my exposure and with the sharpness. Love that tight grain. But, boy, did I have to straighten the photos. There is a learning curve dealing with a waist-level viewfinder!
If you’re a film person, you’ll laugh at my observations, but I haven’t shot film since high school and college. It’s funny to me that I’ve been shooting digitally and using film emulation on some shots. Then I get these scans back and stare at them, thinking, “This is the real deal, real Kodak Portra, no simulation needed.”
Photography is a funny thing these days. Digital, film, emulations, filters, recipes, A.I., apps. Even shooting film and scanning negatives to make them digital so you can post them is funny to me. You take negatives, scan them, and then you can still tweak to some degree, colors, brightness, sharpness, etc. Are they film shots still? (That’s rhetorical). You have purists who think most of this is sacrilegious.
I’m not in any camp. I love photography. I don’t care how you do it. In fact, tell me how you do it. Tell me your process. I’m curious about your art and how you make it. It’s yours. Don’t let anybody tell you your art is less than because you don’t follow their rules. We all have our preferences and beliefs. I respect yours, and maybe I’ll even adopt some of yours if they make sense to me. I always try to follow the mantra of “Strong Opinions, Loosely Held.” Be open to change, to new data, to new ideas. It will make you a better person and photographer.
I’m really enjoying my photography journey these days. Digital shooting, Rolleiflex, (BeerPan coming someday (35mm Pano)), printing, film, negatives, scanning, it’s just all really interesting and fun exploring as much as I can. Heck, I’m watching a very in-depth Large Format Photography course right now, and there may be even more variety in the future. I’m just say’n: the 4x5 and 6x17 stuff looks awfully fun.
Anyway, I’m babbling now. Go take some pictures.


Post #1 June 11th, 2026
Film Journey: I shot a roll of Portra 400 tonight on some sunset shots with the Rollei. I don’t have a cable release for it, so I ordered one on eBay tonight. I had it on a tripod, but who knows how shaky I am when pressing and releasing the shutter with my finger in Bulb Mode. No instant results—just have to wait and find out. Another roll of exposed film in the refrigerator. When I get back from my next work trip, I’m going to try a local lab for developing and scanning. I think I’m set up to scan my own negatives now, but I want some lab scans to compare mine to.
This Rollei that I’m using has a lot of meaning for me. It was my grandfather’s; he was an avid photographer and very active in his local photography club up in the Pacific Northwest. I loved spending time with him in his office, looking at slides on the light table. I want to keep his camera shooting film for many years. It’s been a long, slow journey back into film for me, but progress is happening.
The next roll to experiment with is Kodak Ektar 100. It’s supposed to have very fine grain and vibrant colors. Excited to see it.